Honeywell 6000 Install Guide: A Comprehensive Plan (as of 05/05/2026)
This comprehensive guide simplifies Honeywell 6000 installation, offering troubleshooting insights and emphasizing the importance of reviewing the user agreement for optimal performance.
Welcome to the Honeywell 6000 security system – a cutting-edge solution designed to provide robust protection for your home or business. This guide serves as a detailed roadmap for a successful installation, ensuring optimal performance and reliability. The Honeywell 6000 integrates seamlessly with smart home technology, offering remote control and monitoring capabilities via the Honeywell Home App.
Understanding the system’s components and functionalities is crucial. This installation manual provides step-by-step instructions, troubleshooting tips, and essential safety precautions. Before beginning, carefully review the user agreement to ensure full comprehension of system operation and warranty details. Proper installation guarantees a secure and dependable security network.
Unboxing and Component Verification
Upon receiving your Honeywell 6000 system, carefully inspect the packaging for any signs of damage during transit. Once opened, meticulously verify all components against the provided package contents checklist. This crucial step ensures you have everything needed before commencing installation.
Identify each component – control panel, keypad, sensors (door, window, motion), siren, and power supply – referencing the system component identification guide. Report any missing or damaged parts immediately to Honeywell support. Accurate verification prevents delays and ensures a smooth, trouble-free installation process.
Package Contents Checklist
Confirm the presence of the following items within the Honeywell 6000 package: One (1) Control Panel unit, one (1) Keypad, three (3) Door/Window Sensors, one (1) Motion Detector, one (1) Internal Siren, one (1) Power Supply, one (1) Backup Battery, mounting hardware (screws, brackets), and this Installation Guide.
Additionally, verify the inclusion of zone identification stickers and wiring connectors. Important: If any items are missing, immediately contact Honeywell customer support for replacement. A complete package ensures a seamless installation experience and full system functionality. Do not proceed without all listed components.
Identifying System Components
The Honeywell 6000 system features several key components. The Control Panel, a central hub, manages all security functions. The Keypad allows for system arming/disarming and programming. Door/Window Sensors detect unauthorized entry. Motion Detectors cover larger areas, sensing movement. The Internal Siren alerts occupants during an alarm event.
The Power Supply provides consistent operation, while the Backup Battery ensures functionality during power outages. Familiarize yourself with each component’s appearance and function before beginning installation. Proper identification is crucial for correct wiring and placement.
Pre-Installation Considerations
Before commencing installation, careful planning is essential. Verify system compatibility with your existing home infrastructure, including wiring and network capabilities. Gather all required tools – screwdrivers, wire strippers, drills – and materials like wiring and mounting hardware.
Assess potential interference sources that could affect wireless signal strength. Review the layout of your home to determine optimal sensor and device placement. A thorough pre-installation assessment minimizes complications and ensures a smooth, efficient setup process for your Honeywell 6000 system.
System Compatibility Check
Ensuring compatibility is paramount for a functional system. Confirm your home’s electrical system meets the Honeywell 6000’s power requirements – typically standard 120V AC. Verify existing wiring is suitable for connecting sensors and devices; older systems may require upgrades.
If integrating with smart home platforms, check for compatibility with protocols like Z-Wave or Wi-Fi. Assess your internet bandwidth to support potential remote access features. A pre-emptive compatibility check prevents frustrating issues post-installation.
Required Tools and Materials
Proper preparation streamlines the installation process. You’ll need a screwdriver set (Phillips and flathead), wire strippers, and a drill with appropriate bits for mounting. A multimeter is crucial for verifying power and connectivity.
Essential materials include wire connectors, mounting screws, and potentially drywall anchors. Consider a cable tester for confirming sensor wiring integrity. Safety glasses and gloves are recommended. Having these tools readily available minimizes delays and ensures a professional installation.
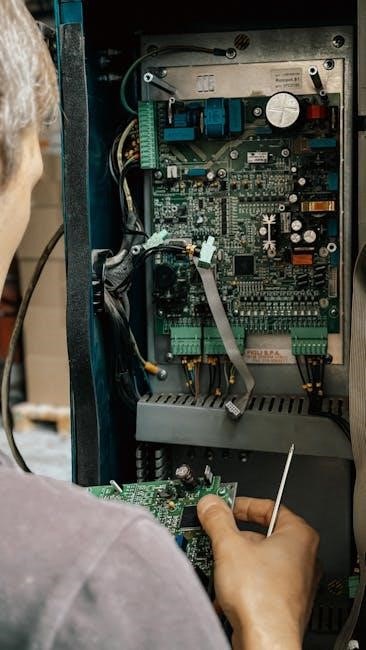
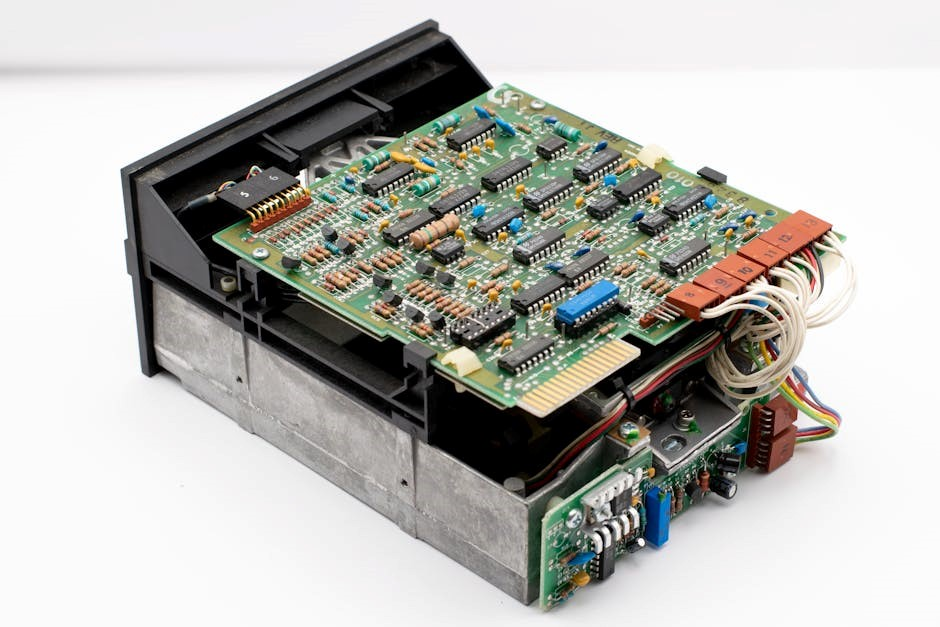
Control Panel Installation
The control panel is the system’s brain; careful installation is paramount. Choose a central, secure location, away from extreme temperatures and moisture. Ensure easy access for maintenance, but protected from tampering.
Before mounting, plan wire routing to minimize clutter. Securely attach the panel using appropriate screws and anchors. Double-check levelness for optimal operation. Proper mounting ensures stability and reliable communication with all system components, forming a robust security foundation.
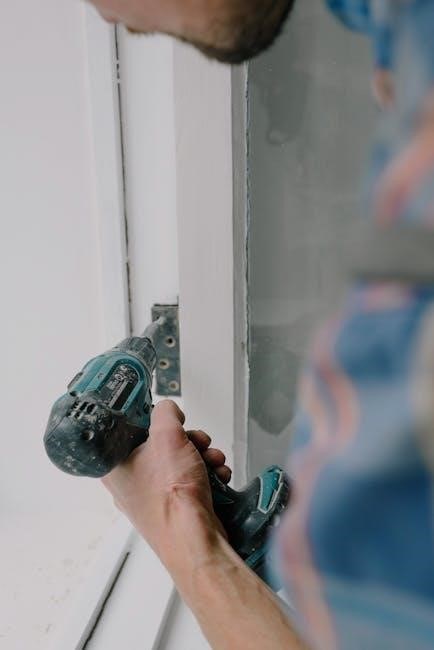
Mounting the Control Panel
Securely mounting the Honeywell 6000 control panel is crucial for reliable operation. Select a dry, indoor location, protected from direct sunlight and extreme temperatures. Utilize the provided mounting template to mark screw locations accurately.
Employ appropriate screws and wall anchors suited to your wall type – drywall, plaster, or concrete. Ensure the panel is level during installation. A firmly mounted panel minimizes vibration and potential wiring issues, contributing to long-term system stability and performance.

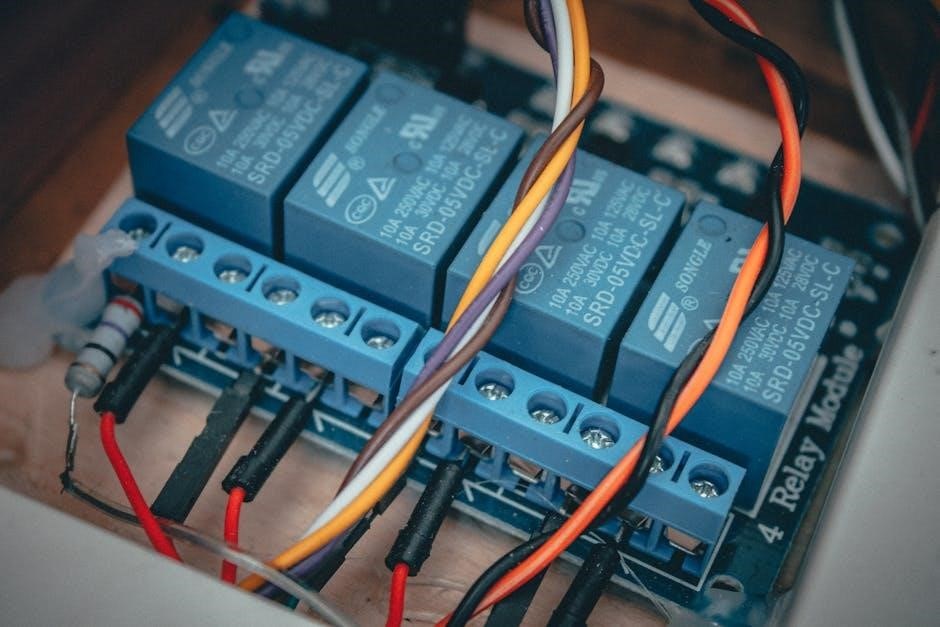
Wiring the Power Supply
Connecting the power supply requires careful attention to detail for safe and reliable operation. First, disconnect main power at the breaker. Identify the designated power input terminals on the Honeywell 6000 control panel. Connect the appropriately sized power wires, observing correct polarity – typically marked or color-coded.
Securely tighten all connections to prevent loosening. Double-check wiring before restoring power. Improper wiring can damage the system or create a safety hazard. Consider a surge protector for added protection against power fluctuations.
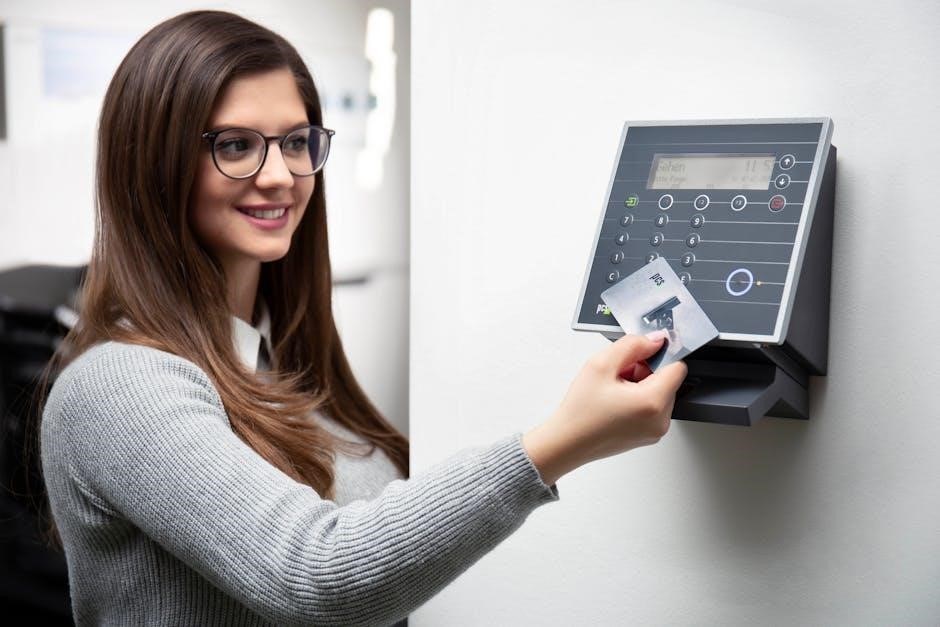
Keypad Installation and Configuration
Proper keypad placement enhances system usability and security. Choose a location near a frequently used entry/exit point, ensuring easy access for authorized users. Mount the keypad securely using the provided screws and anchors, following the included template.

Once mounted, connect the keypad wiring to the control panel, verifying correct terminal assignments. Basic programming involves setting the keypad’s communication ID and enabling/disabling features. Refer to the system manual for detailed programming instructions and customization options.
Keypad Mounting Options
The Honeywell 6000 system offers versatile keypad mounting solutions. Standard surface mounting is suitable for most installations, utilizing the included bracket and screws for secure attachment to a wall. For a flush, integrated appearance, consider recess mounting within a wall cavity – requiring professional installation and a compatible backbox.
Additionally, some models support tabletop placement using optional stands. Prioritize accessibility and visibility when selecting a mounting method, ensuring convenient operation for all authorized users. Always adhere to local building codes and safety regulations.
Keypad Programming Basics
Initial keypad programming involves setting a master user code, crucial for system access and configuration. Navigate the menu using the keypad’s directional arrows and ‘Enter’ key. Access programming mode typically requires entering a default code (consult the full manual!).
From there, you can add/delete user codes, adjust volume levels, and customize entry/exit delays. Remember to document all codes securely! Regularly changing the master code enhances system security. Explore advanced options for features like duress codes and stay/away arming modes.
Sensor Installation (Doors & Windows)
Proper sensor placement is vital for reliable security. Door sensors typically consist of two parts: the sensor itself and a magnet. Mount the sensor on the door frame and the magnet on the door, ensuring they align when closed. Window sensors follow a similar principle, securing both window frame and sash.
Use the provided adhesive or screws for secure attachment. Test each sensor after installation to confirm signal transmission to the control panel. Maintain a small gap between sensor and magnet for optimal performance.
Door Sensor Placement Guidelines
Strategic placement maximizes effectiveness. Install door sensors on the door frame and door itself, aligning the sensor and magnet within 1/2 inch when closed. Avoid metal surfaces that can interfere with the wireless signal. Consider doors with existing holes for easier installation.
For outward-swinging doors, mount the magnet on the frame and the sensor on the door. Regularly test sensors after installation. Ensure proper alignment to prevent false alarms or missed detections. Securely attach using provided adhesive or screws.
Window Sensor Installation Techniques
Proper installation ensures reliable window breach detection. Mount the sensor and magnet on the window frame and sash, maintaining a maximum 1/2-inch gap when closed. Utilize the provided double-sided adhesive tape for quick installation, reinforcing with screws for added security.
Avoid placing sensors directly on metal window frames, as this can disrupt the signal. Test functionality after installation, verifying consistent communication with the control panel. Consider window type – casement versus sliding – for optimal placement.
Motion Detector Installation
Strategic placement is crucial for effective motion detection. Mount detectors 7-8 feet high, aiming to cover the intended area. Avoid direct sunlight, heat sources, and drafts, as these can trigger false alarms. Corner mounting maximizes coverage, while keeping them away from windows minimizes external interference.
Consider pet immunity settings if applicable, adjusting sensitivity to prevent unwanted activations. Regularly test the detector’s range and ensure unobstructed views for optimal performance. Proper installation significantly enhances system reliability.
Optimal Motion Detector Locations
Prioritize hallways, stairwells, and large open areas for maximum coverage. Focus on entry points, such as back doors and ground-floor windows, to detect potential intruders early. Avoid aiming detectors directly at windows or heat sources, which can cause false alarms.
Corners generally provide wider detection angles. Consider mounting detectors to overlook valuable possessions. Regularly assess and adjust locations based on changing household layouts or potential obstructions. Proper placement is key to a reliable security system.
Avoiding False Alarm Triggers
Minimize potential triggers by keeping pets away from motion detector zones. Adjust sensitivity settings to suit your environment; lower sensitivity reduces false alarms from small movements. Ensure proper shielding from direct sunlight or heating vents. Regularly check for and eliminate obstructions like swaying curtains or plants.
Inform all household members about system operation to prevent accidental activations. Test the system frequently and address any recurring false alarm sources promptly. A well-maintained system minimizes unnecessary disruptions.
Siren and Alarm Device Installation
Proper siren placement is crucial for effective deterrence. Internal sirens should be mounted in central locations for maximum audibility, avoiding areas prone to dampness. External sirens, if included, require weatherproof housing and secure mounting, adhering to local ordinances.
Ensure wiring connections are secure and follow all electrical codes. Test siren functionality after installation to confirm proper operation during an alarm event. Consider siren strobe lights for enhanced visibility, particularly for hearing-impaired individuals.
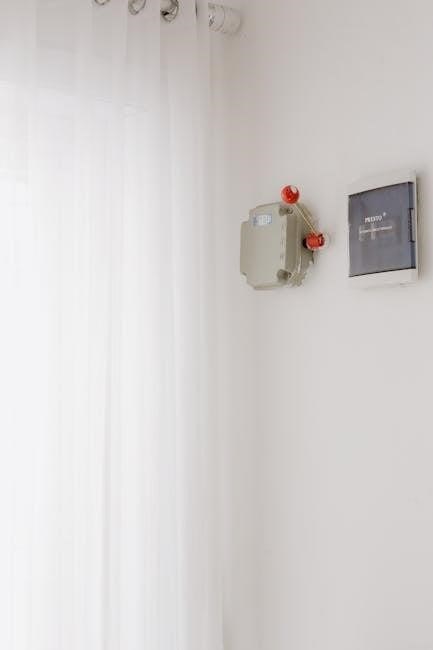
Internal Siren Installation
Mounting the internal siren requires careful consideration. Select a central location within the protected premises, maximizing sound propagation throughout the building. Avoid areas susceptible to moisture or extreme temperatures, which could compromise functionality.
Securely fasten the siren using appropriate hardware, ensuring it won’t vibrate loose during activation. Connect the wiring harness according to the system diagram, verifying polarity. Test the siren immediately post-installation to confirm proper operation and sufficient volume levels.
External Siren Installation (if applicable)
For installations requiring an external siren, adhere to local ordinances and regulations regarding sound levels and placement. Choose a highly visible, yet tamper-resistant location, protected from the elements.
Mount the siren securely, utilizing weatherproof mounting brackets and hardware. Run conduit for wiring to protect it from damage and weather exposure. Ensure proper grounding to prevent electrical hazards. Test the siren functionality after installation, verifying audibility from a distance and confirming its connection to the control panel.
System Programming and Setup
Initial system setup involves crucial programming steps for personalized security. Begin by creating a master user code, ensuring it’s memorable but not easily guessable. Subsequently, add individual user codes with defined access levels – arming, disarming, or limited functionality.
Zone programming is vital; assign descriptive names to each sensor (e.g., “Front Door,” “Living Room Window”); This simplifies alarm identification. Carefully review and configure alarm response settings, including entry/exit delays and alarm durations, tailoring them to your specific needs.
User Code Creation and Management
Establishing secure user access is paramount. Start with a unique, six-digit master code, safeguarding it diligently. Add individual user codes, assigning specific permissions – full access, arm-only, or disarm-only. Regularly review and update these codes, especially after personnel changes.
The Honeywell 6000 allows for numerous user codes, enhancing security flexibility. Consider implementing a code change schedule to maintain system integrity. Avoid easily predictable codes like birthdays or addresses. Utilize the system’s lockout feature after multiple incorrect attempts to prevent unauthorized access.
Zone Programming and Naming
Accurate zone programming is crucial for effective alarm response. Each sensor (door, window, motion detector) represents a zone within the system. Assign descriptive names to each zone – “Front Door,” “Living Room Window,” “Basement Motion” – for easy identification during alarm events.
Configure zone types (entry/exit, instant, stay) based on their function. Properly defining zones ensures the system reacts appropriately to triggered sensors. Utilize the system’s bypass feature for temporarily disabling zones during maintenance or when pets are present. Consistent zone naming simplifies troubleshooting.
Honeywell 6000 System Testing
Thorough testing validates your Honeywell 6000 installation and ensures reliable operation. Begin with a comprehensive “walk test,” activating each sensor individually to confirm signal transmission to the control panel. Verify the system accurately identifies the triggered zone.
Next, perform an alarm verification process, observing the siren activation and any connected monitoring service notification. Document all test results. Regular testing – at least quarterly – is recommended to maintain system integrity and promptly identify potential issues.
Walk Test Procedure
Initiate the walk test via the Honeywell 6000 control panel’s programming menu. Systematically open and close each protected door and window, triggering the corresponding sensors. Observe the keypad display to confirm each zone is recognized and reports correctly.
Activate each motion detector by walking within its detection range. Note any delays or failures in zone reporting. Document all results, including zone numbers and sensor responses. A successful walk test confirms proper sensor functionality and communication with the control panel.
Alarm Verification Process
Following a triggered alarm, the Honeywell 6000 system employs a verification protocol. This typically involves a pre-defined delay, allowing occupants to disarm the system if it’s a false alarm. The system may also attempt to contact the homeowner via phone or mobile app.
If the alarm persists after verification attempts, the system will notify the central monitoring station. Accurate zone identification aids dispatchers in assessing the situation and contacting emergency services if necessary. Thorough testing ensures reliable alarm verification.
Troubleshooting Common Issues
Encountering problems? This section addresses frequent Honeywell 6000 issues. Common concerns include sensor connectivity, keypad malfunctions, and false alarms. First, verify power supply connections and battery levels. Check sensor placement and wiring for integrity.
For keypad issues, ensure proper programming and consider a reset. False alarms often stem from sensitivity settings or environmental factors. Refer to the system’s event log for detailed error messages and consult the full installation manual for advanced diagnostics.
Battery Backup System Installation & Maintenance
Ensure uninterrupted security with the Honeywell 6000’s battery backup. Installation requires connecting the battery to the control panel’s designated terminals, following polarity guidelines carefully. Regularly test the battery (every 6 months) to confirm it retains sufficient charge during power outages.
Replace the battery every 3-5 years, or sooner if testing reveals diminished capacity. Proper maintenance extends battery life and guarantees continued system operation. Always use a compatible battery specified by Honeywell for optimal performance and safety.

Wireless Sensor Pairing
Effortlessly expand your Honeywell 6000 system with wireless sensors. Initiate pairing mode on the control panel via the system menu. Then, activate each sensor’s pairing signal – typically by removing the battery tab or pressing a designated button.
The control panel will automatically detect and register the sensor. Confirm successful pairing on the keypad display. Ensure sensors are within range of the control panel for reliable communication. Refer to the sensor’s manual for specific pairing instructions.
Firmware Updates and System Maintenance
Maintaining your Honeywell 6000 system’s performance requires regular firmware updates. Check for updates through the Honeywell Home app or the system’s service menu. Download and install updates during off-peak hours to avoid interruptions.
Periodically inspect all components for damage or wear. Clean the control panel and keypad with a soft, dry cloth. Test the battery backup system monthly. Proper maintenance ensures optimal security and longevity of your investment.
Connecting to Honeywell Home App
Seamlessly integrate your Honeywell 6000 system with the Honeywell Home app for remote control and monitoring. Download the app from your device’s app store and create an account.
Follow the in-app instructions to pair your system, typically involving scanning a QR code or entering the system’s unique ID. Once connected, you can arm/disarm, view sensor status, and receive real-time notifications. Enjoy enhanced control and peace of mind from anywhere!
Advanced System Settings
Unlock the full potential of your Honeywell 6000 system by exploring its advanced settings. Access these options through the keypad or Honeywell Home app, requiring a master user code.
Customize entry/exit delays, adjust sensor sensitivity, and configure alarm responses. Explore options for cross-zoning and partition control for tailored security. Fine-tune notification preferences and integrate with smart home devices for a truly personalized experience. Remember to document any changes made for future reference.
Understanding Alarm Signals and Notifications
The Honeywell 6000 system communicates alarm events through various signals and notifications. Familiarize yourself with the different alarm types – burglary, fire, panic – and their corresponding indicators on the keypad and within the Honeywell Home app.
Configure push notifications, email alerts, and SMS messages to receive immediate updates. Understand the meaning of system trouble signals, like low battery warnings. Regularly review notification settings to ensure timely and relevant alerts, maximizing your system’s responsiveness.
Resetting the System to Factory Defaults
Resetting the Honeywell 6000 to factory defaults erases all programming, user codes, and zone configurations. This should only be performed as a last resort, typically when troubleshooting severe system issues or preparing for resale.
The process usually involves a specific key sequence entered on the keypad while the system is disarmed. Caution: A factory reset requires complete reprogramming. Document existing settings beforehand. Refer to the full installation manual for precise instructions and potential consequences before proceeding with this action.
Important Safety Precautions
Prioritize safety during Honeywell 6000 installation. Always disconnect power before working with wiring to prevent electrical shock. Use appropriate tools and follow all local electrical codes. Never attempt repairs beyond your skill level; consult a qualified technician.
Ensure the control panel is mounted securely to avoid accidental damage or disconnection. Keep small parts away from children. Regularly test the system to confirm proper functionality. Review the complete manual for detailed safety guidelines and warnings before beginning installation.
Warranty Information and Support
Your Honeywell 6000 system is covered by a limited warranty against defects in materials and workmanship. Please retain your proof of purchase for warranty claims. The warranty period varies based on component type; refer to the included warranty documentation for specifics.
For technical support, troubleshooting assistance, or to register your system, visit the Honeywell Home website or contact their dedicated support line. Access to online resources, FAQs, and downloadable manuals are readily available to assist you.
Frequently Asked Questions (FAQ)
Q: Can I install the Honeywell 6000 system myself? A: While possible, professional installation is recommended for optimal performance and to ensure proper system configuration. Q: What if I lose my user code? A: The master user can reset codes through the system menu.
Q: How often should I test the system? A: Monthly walk tests are crucial. Q: What does a low battery warning indicate? A: Replace the battery immediately to maintain system functionality. Contact support for further assistance.